Easy Halloween Manicure: Tutorial
Stuck for costume ideas this Halloween? It’s all about the details with these spooky Halloween nails!
Halloween is creeping ever closer and while it’s a bit early to be wearing your costume in the street, why not get in a spooky mood with a hair-raising new look for your nails?
Follow these easy tutorials for freakishly fabulous nails in an instant!

Tutorial 1: The Pumpkin
You’ll need: orange nail polish, black acrylic paint, a fine paint brush and a small piece of aluminum foil.
Apply two coats of the orange nail polish, focusing on the tip of your nail rather than the base. This will be colored over later so shouldn’t be too thick! Leave to dry.
Use the fine paint brush to cover the base of the nail, and lightly outline the black droplets before filling them in with the black paint.
Apply a final layer of transparent polish for protection and extra shine - and you’re done!

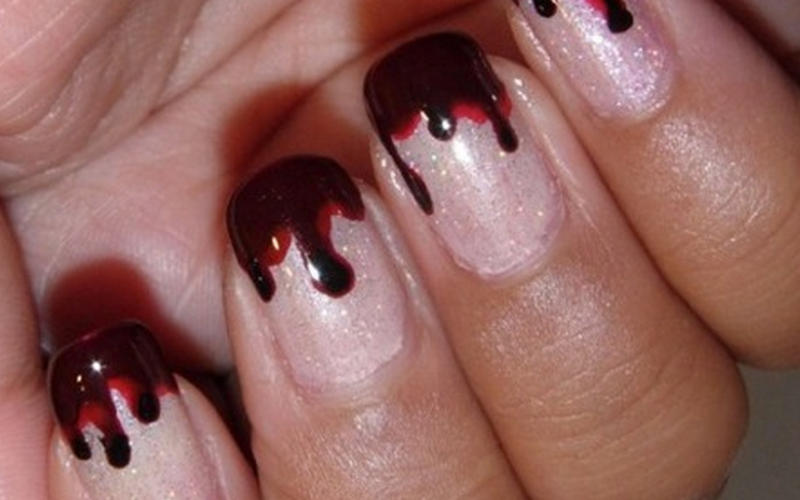
Tutorial 2: Dripping Blood
You’ll need: A burgundy (or dark red) polish, a bright red polish, a base nude polish (think French Manicure - maybe ask your Mom!), a black polish, a glittery polish and a fine brush.
First apply the nude base to the entire nail. Leave to dry.
Apply a layer of the glittery polish for some Halloween sparkle. Leave to dry.
Use the fine brush to apply the burgundy polish around the tip only. Try to create a splodged, dribbling-blood effect like the one in the photo above! Leave this layer to dry.
Take the fine brush again (clean it first!) and apply the bright red polish around the edges of your burgundy blood detail. This just makes the ‘blood’ stand out.
Finally, to make the blood droplets look extra 3-D and creepy, use the fine brush to dot the black polish at the end of each splodge.

Now you have everything you need to make your nails the scariest (and most glamorous) this Halloween! Once you’ve mastered the basics why not try a more daring design?

We’d love to see your artworks so share your photos with us on our Facebook page!
 Best 5SOS Memory 99%
  Best Cake Shop Job 99%
  New Olympic Gymnastics Game for Girls 75%
  New Become a Top Magazine Editor 99%